
Setup root category
Root Categories


The products in the main menu are determined by the root category that is assigned to the store. The root category is basically a container for the main menu in the category tree. You can create a root category with an entirely new set of products or copy products from an existing root category. The root category can be assigned to the current store or to any other store in the same website.

From the Admin, the category structure is like an upside-down tree, with the root on top. The root has a name, but no URL key, and does not appear in the top navigation of the store. All other categories in the menu are nested below the root. Because the root category is the highest level of the catalog, your store can have only one root category active at a time. You can, however, create additional root categories for alternate catalog structures and different stores.
The following example shows how to create a new root category and assign it to a different store.
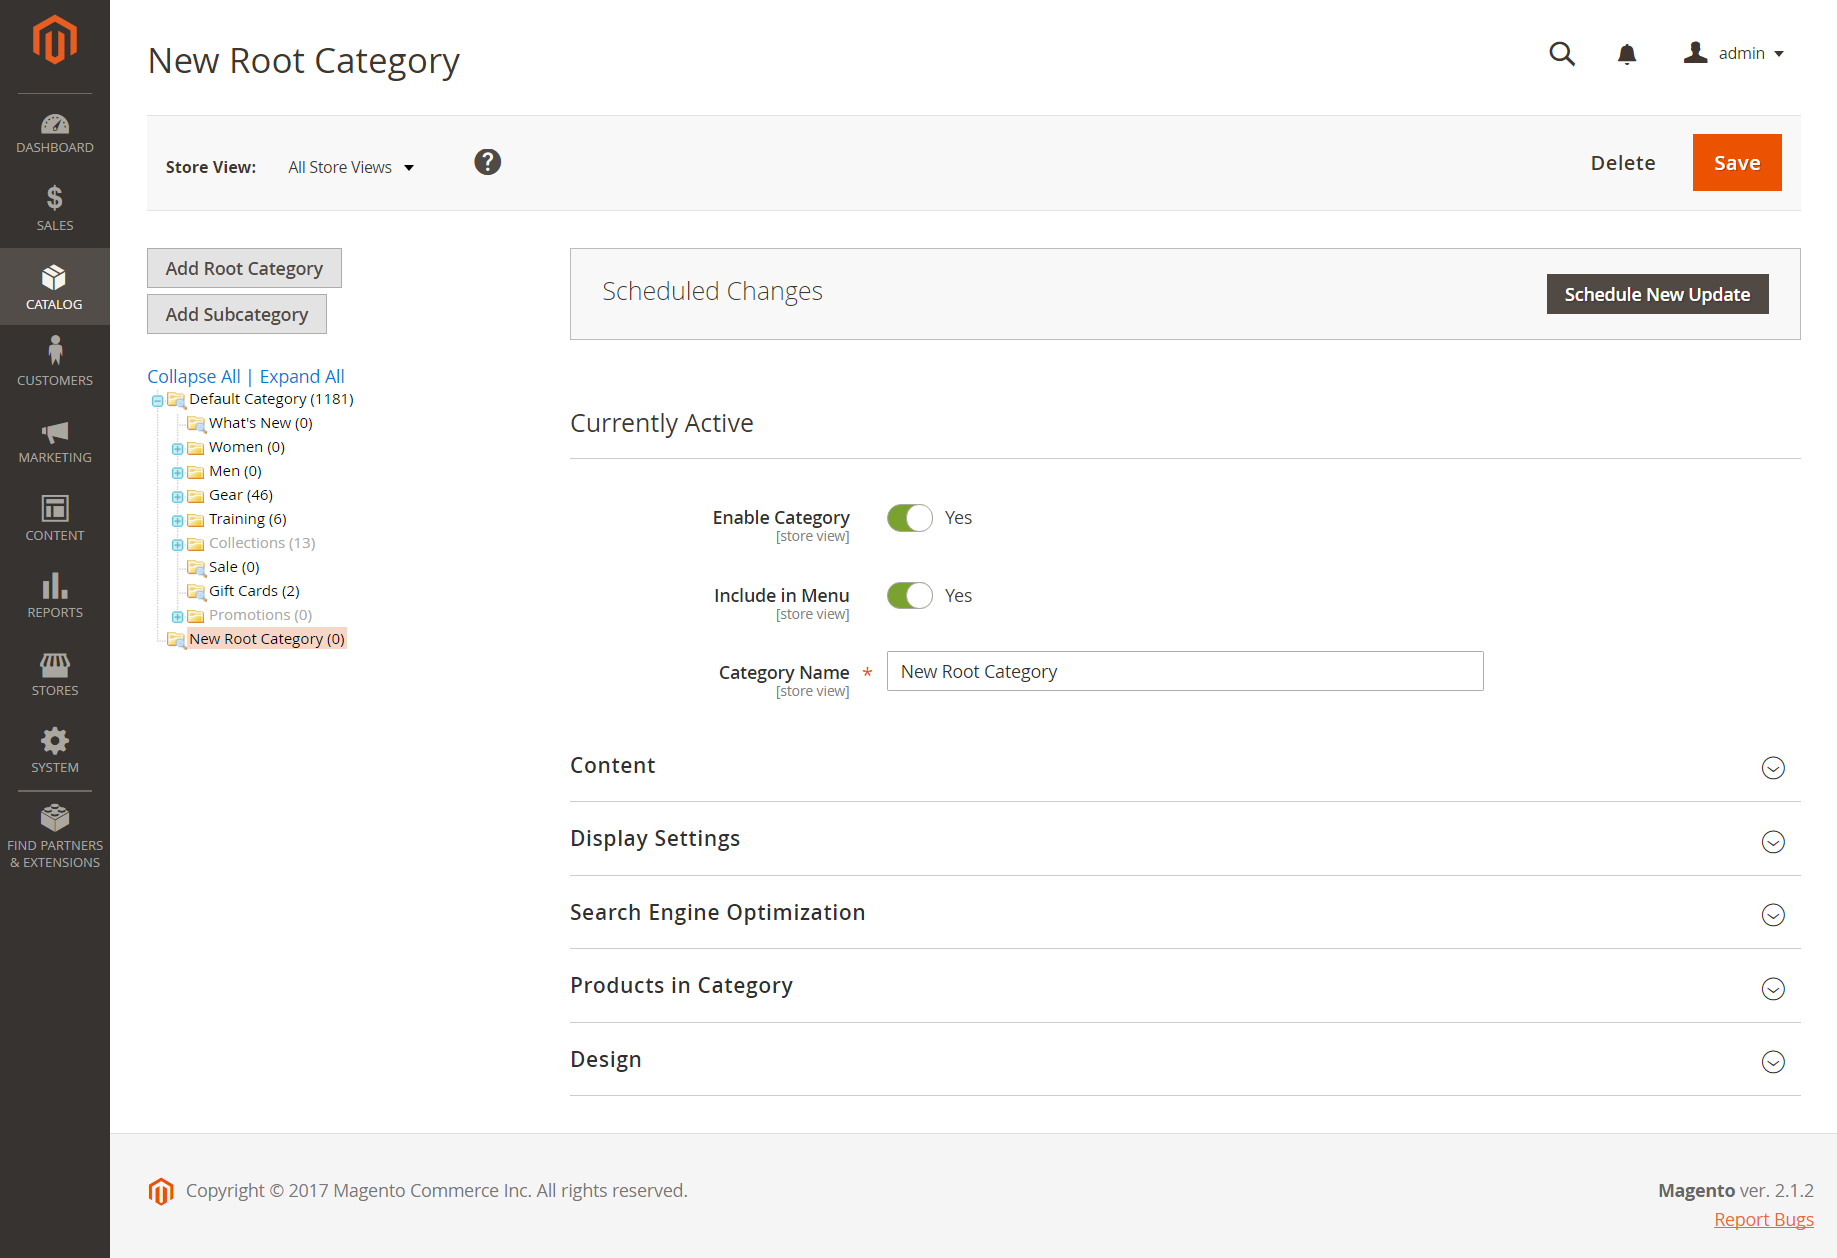
Step 1: Create a new root category
On the Admin sidebar, go to Catalog > Categories.
On the left, click Add Root Category.
 New root category
Assign a Category Name.
The name you choose will initially be assigned to all store views.
If you want to add products to the catalog from the current catalog, do the following:
Expand
 the Products in Category section.
Use the search filters to find the products you want and select the checkbox for each product that you want to copy into the new catalog.
When complete, click Save.
Step 2: Build out the main menu
On the left, select the new root category that you created in the previous step.
Click Add Subcategory and follow the instructions to create the category structure for the main menu.
Step 3: Assign the root category to the store
On the Admin sidebar, go to Stores > Settings > All Stores.
In the Stores column of the grid, click the store that you want to assign the new catalog.
Set Root Category to the new root category that you created.
Make sure that the store has a Default Store View assigned.
The store must have at least one store view.
When complete, click Save Store.
To verify that the store has a new catalog, do the following:
On the Admin sidebar, go to Catalog > Products.
Any products that were copied to the new catalog appear in the grid.
Visit the storefront to verify that the new catalog and main menu are working correctly.
Last updated